
Hi, my name's Jill and I'm honored to have been asked to guest post here on Olivia Renn.
First I'd like to tell you a bit about myself. I'm a mum to 2 beautiful girls who have now started school. I'm so trying to find a way to use my creativity to keep on working from home, so I can continue to support my daughters through the first few years at school - and help out wherever I can with school activities.
My own blog, Creating my way to Success; is my creative outlet for my endeavours. I love to create things and also try to be a little bit different - either in the materials that I use (I recently made a whole heap of things using old silver car windscreen shades) or in the way I present tutorials - my daughter's barbie and Bratz dolls have presented a couple of tutorials !!. I have gained so much inspiration and motivation from everyone's wonderful blogs out there that I decided to set up my Monday linky party - A Round Tuit, where everyone can join in and link up a project that they're proud of, or need to get a round to, then pop across and encourage, motivate and inspire each other. I'm amazed and inspired every week by the entries - and it's also helping me to work through my (very long) to do list!!
Today, I'm going to share a simple tutorial for making grocery bags.
About a year ago, I decided to make up a set of shopping bags from an old sheet we never used. They turned out really well, you can pack them full of heavy tins, and there's no need for the meat to go into plastic as the bags can go straight into the wash if they get soiled! Here they are in use:

I also made one of the matching pillowcases into a handibag:
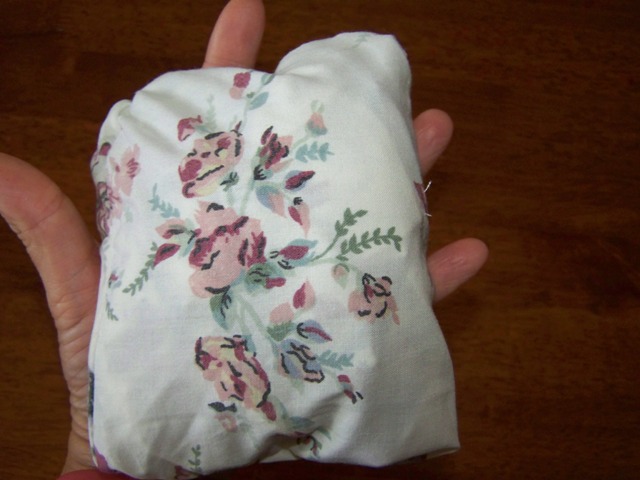
That fits nicely in my handbag..

But opens out big too - in case I do a lot of unexpected shopping!!

Now ever since I made my shopping bags, I've been meaning to make a set of smaller bags to replace the plastic bags we get each week at the fruit and veggie market. FINALLY I got around to this, and made myself a set out of an old net curtain!

Since I buy a variety of things each week - tomatoes, apples, kiwis, lemons...... I never know what size bags I'll need, so I made a few different ones. Having no fixed size in mind also meant I didn't have to measure!
So first I laid the curtain out, folded it in half.

and cut rectangles slightly bigger than the bag size I wanted, to allow for the seams and drawstring turning. So for each bag I now had this:

The rectangles that had been cut from the top of the curtain, already had a ready made space for the drawstring to be pushed through; but for those bits not cut from the top, I simply folded the top edges over and stitched - allowing enough room to push the drawstring through.

Then all I had to do was stitch around the 3 sides of each bag - joining the two sides together (but being careful to leave the opening at the top to push the drawstring through!! Then using a nappy pin (large safety pin) I threaded through a piece of cord in each bag...

And tied the two ends together in a simple knot:

And the bag is finished!

One net curtain made up 8 bags:

Which all stuff inside one bag for easy carrying..
And so now each week I don't waste several small plastic bags:

Thanks so much for letting me do this guest post Macey!
Jill


1 comment:
Nice post tthanks for sharing
Post a Comment